今回から unity の情報も(多少)入りますが、おおむね xcode(Swift) と違いはないと思います。
App Store Connect にアクセス

Developer サイトより、App Store Connect を選択しても OK です。
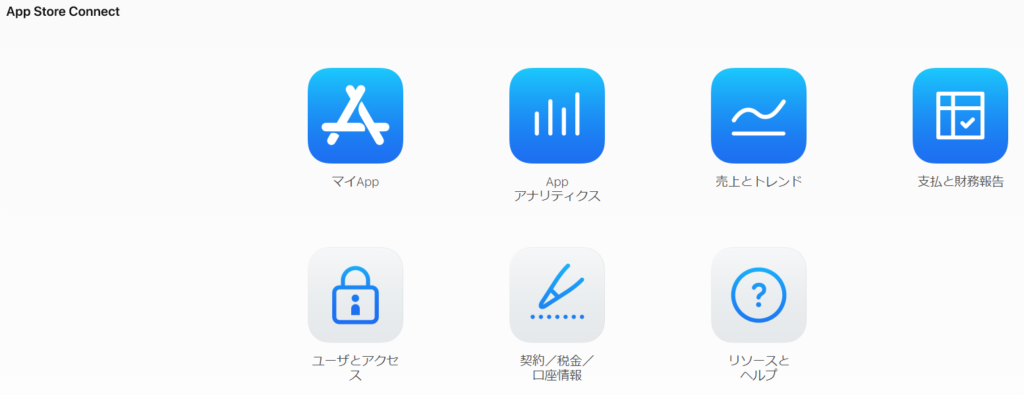
マイApp を選択します
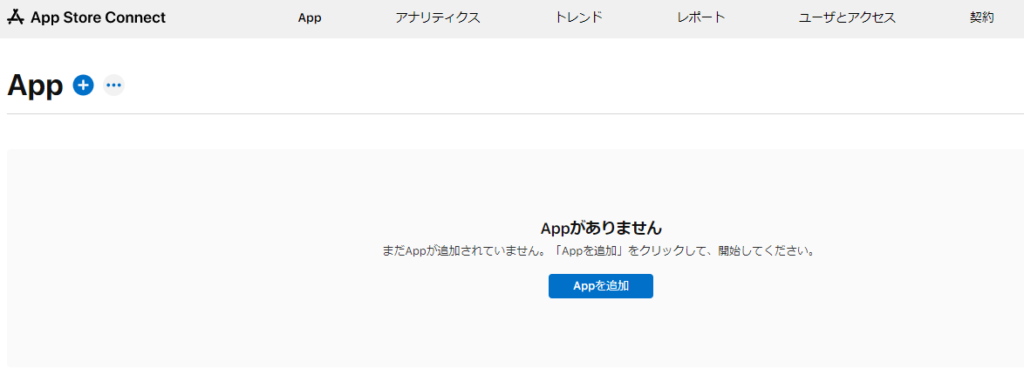
App を追加
新規作成
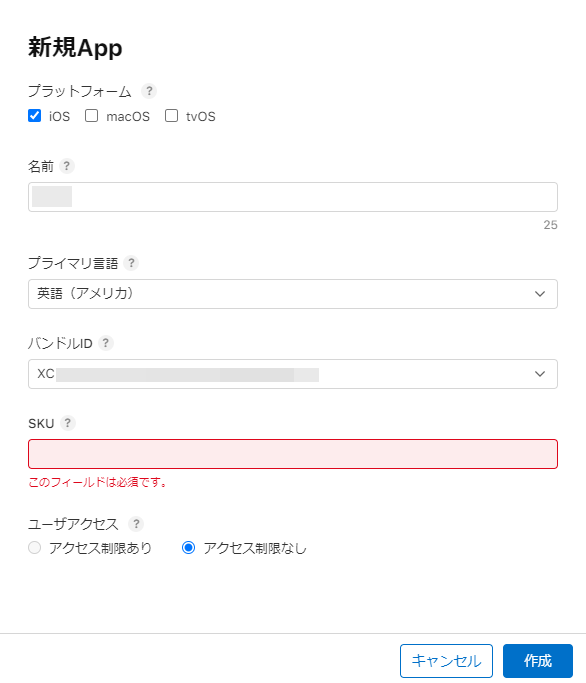
名前
アプリの名前です。間違いのないよう入力
プライマリ言語
基本的には英語(アメリカ)にしておいた方がいいでしょう。各国語対応については 5/5 で設定します。
SKU
ユーザーには見えず、売り上げなどの管理に使われる名称です。一度登録した名前は変更できないので、注意が必要です。
Xcode でアーカイブ作成
unity でビルド作成時の注意点
ビルド作成で気をつけないといけないのが、unity 側の設定。足りないと、色々とエラーで先に進めなくなると思います。
全て Player Settings > Other Settings にあるものですので、確認しましょう。

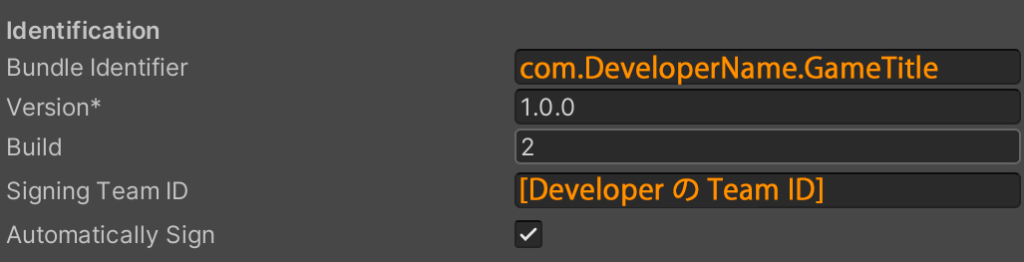
Bundle Identifier
com.[会社名 or 開発者名].[アプリ名]
開発者名と書きましたが、偽名でもペンネームでもなんでも問題ありません。今後も使っていける、自分なりのチーム名なんかがいいでしょう。
unity の場合、Player Settings 一番上の Company Name、Product Name を変えると Bundle Identifier も変化するので、そちらで設定しましょう。
Version
バージョンは、次のようなルールが推奨されています。
- メジャー番号.マイナー番号.リリース番号
ゲームだと追加パッケージ販売レベルでメジャー番号、ゲームのルールが結構変わる場合はマイナー番号、ちょっとしたバグフィックスはリリース番号、といった感じでしょうか。
Build
ビルドは「ストアにアップした回数」として、連番で +1 していくとよさそうです。一度使ったビルド番号は使えなくなる、と思っておくといいでしょう。
(このあたりは iOS も Android も同じ考えです)
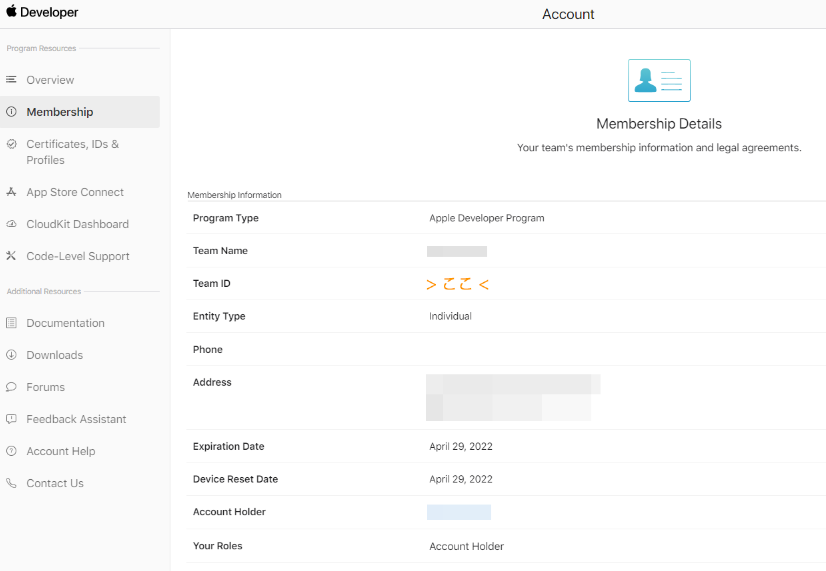
Signing Team ID
Developer サイトの Membership > Team ID の値を入れます。
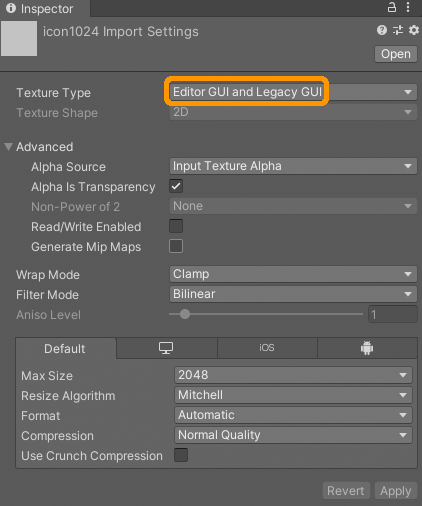
アイコン
アイコンの設定も必要です。
画像は 512x512 で入れておけばよさそうです。Texture Type は Editor GUI And Legacy GUI にしておく事で絵のピンボケ防止になります。

ターゲットを選択
実機でデバッグする際は iPhone を選択していましたが、ロムを作る場合は Any iOS Device(arm64) を選択してください。
メニューの所在がわからない場合、Product > Destination > Any iOS Device(arm64)と選択することもできます。
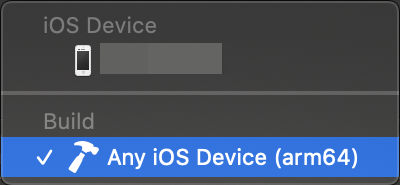
古い xcode では Generic iOS Device という名称のようです。
アーカイブ作成
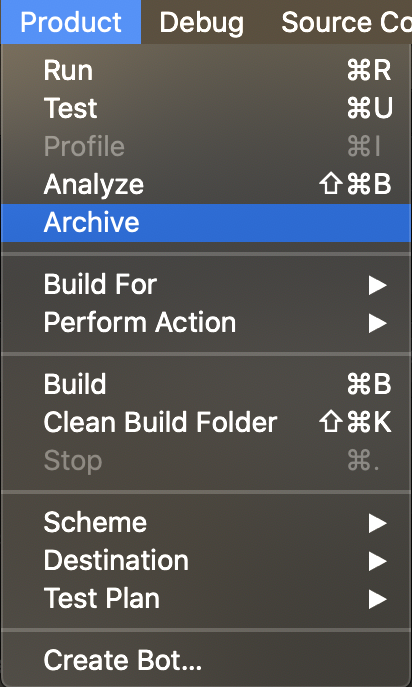
Archive を選択
ちょっとした警告
私の場合、Unity で Architecture を ARM64 のみにしていたため、以下のようなメッセージが出ました。
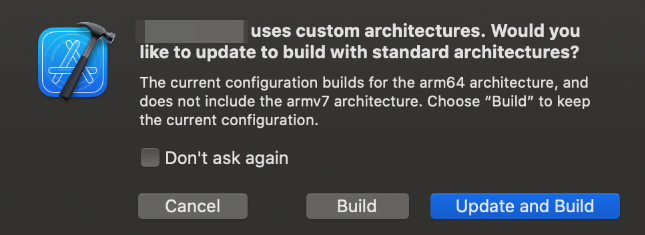
(翻訳)
アプリはカスタムアーキテクチャを使用しています。標準アーキテクチャでの構築にアップデートしますか?
現在の設定は arm64 アーキテクチャ用にビルドされており、armv7 アーキテクチャを含んでいません。Build を選択すると、現在の設定が維持されます。
unity は 2020.1 より ARMv7 を無くす予定ですが、今回のプロジェクトは 2019.4 で作成したものなので、unity の Player Settings > Other Settings > Configuration > Architecture を Universal (ARMv7+ARM64) に変更しました。

こういうシステムの状況を理解する必要もあるのが、ビルドの難しいところ。
この後、もう1度 Archive を選択したところ、警告メッセージは出ませんでした。
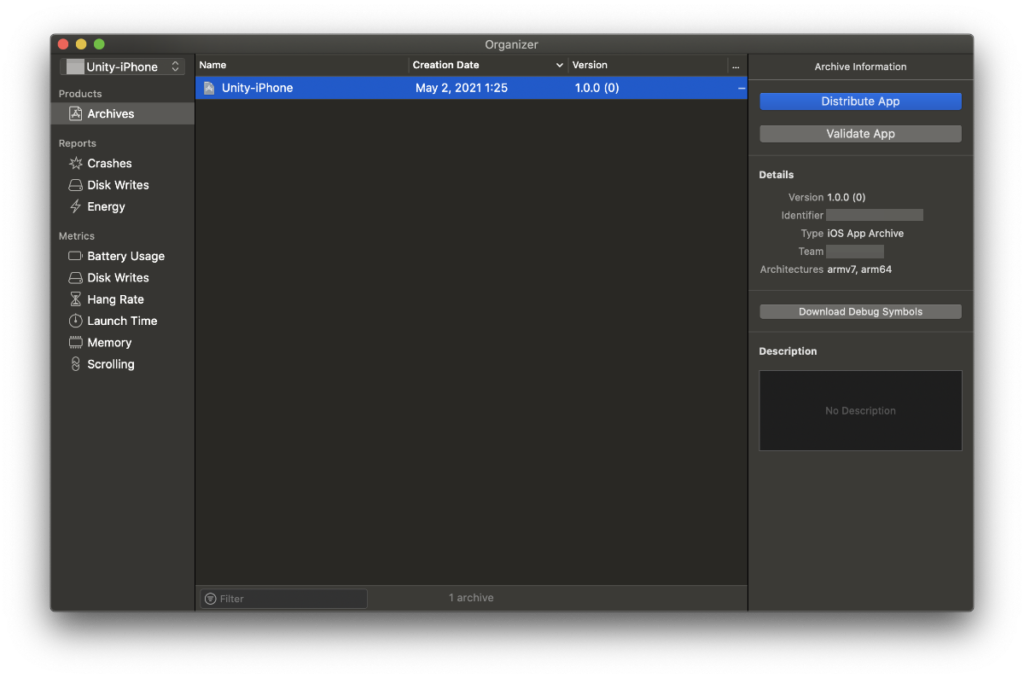
無事成功するとこのように表示されます。
Version ですが、unity で設定した Version、Build の数値が入っています。


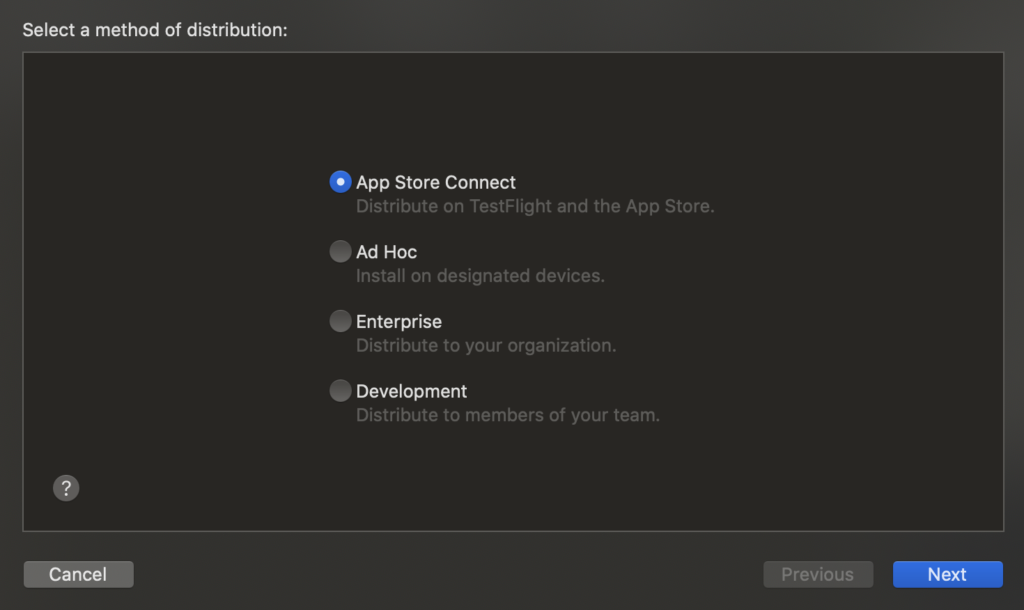
Validate App / Distribute App
Validate App で「アップロードしていい状態か確認する」、Distribute App で「App Store にアップロードする」、というイメージです。
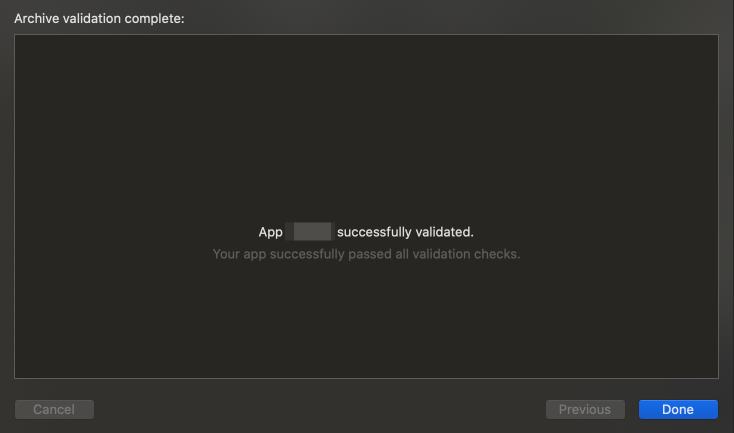
Validate App
右上にある Validate App というボタンを押す。
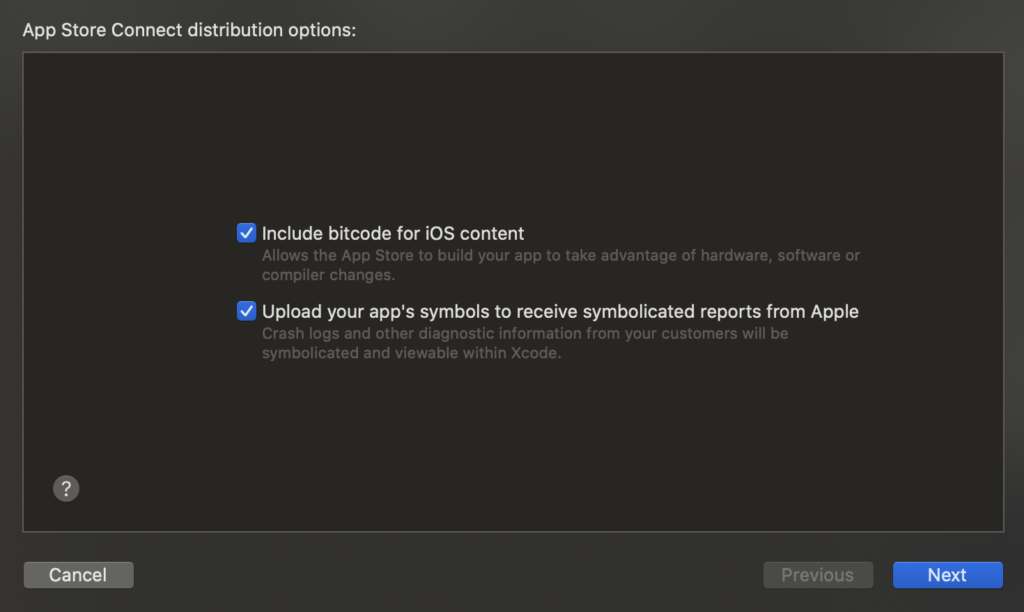
(翻訳)
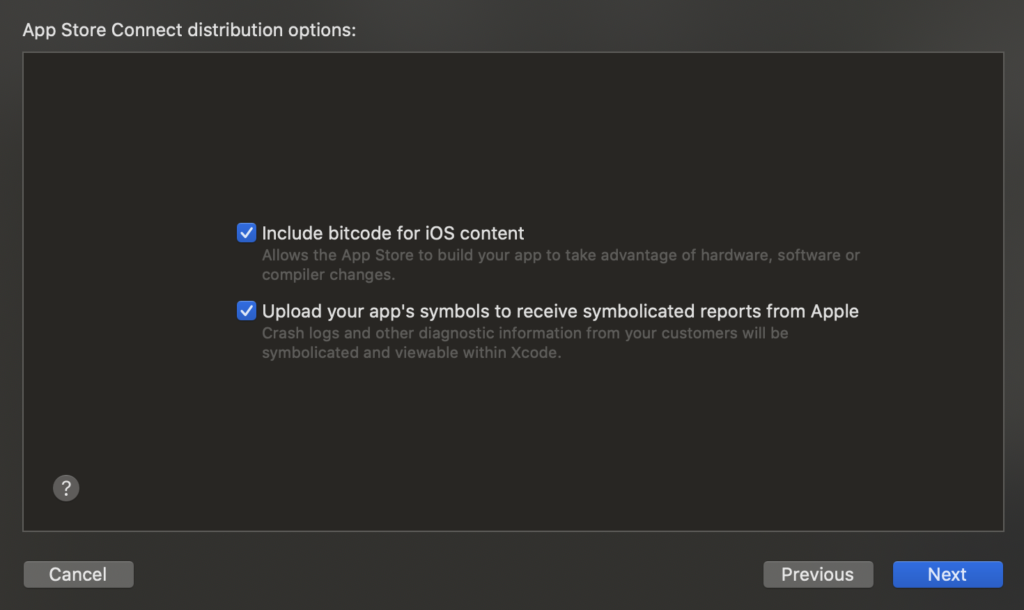
iOS用コンテンツのビットコードを入れる
ハードウェア、ソフトウェア、またはコンパイラの変更を利用してApp Storeがアプリを構築できるようにします。アプリケーションのシンボルをアップロードして、Appleからシンボル付きのレポートを受け取る
お客様からのクラッシュログやその他の診断情報がシンボル化され、Xcode上で閲覧可能になります。
やっといて損はなさそうなので両方チェックで Next
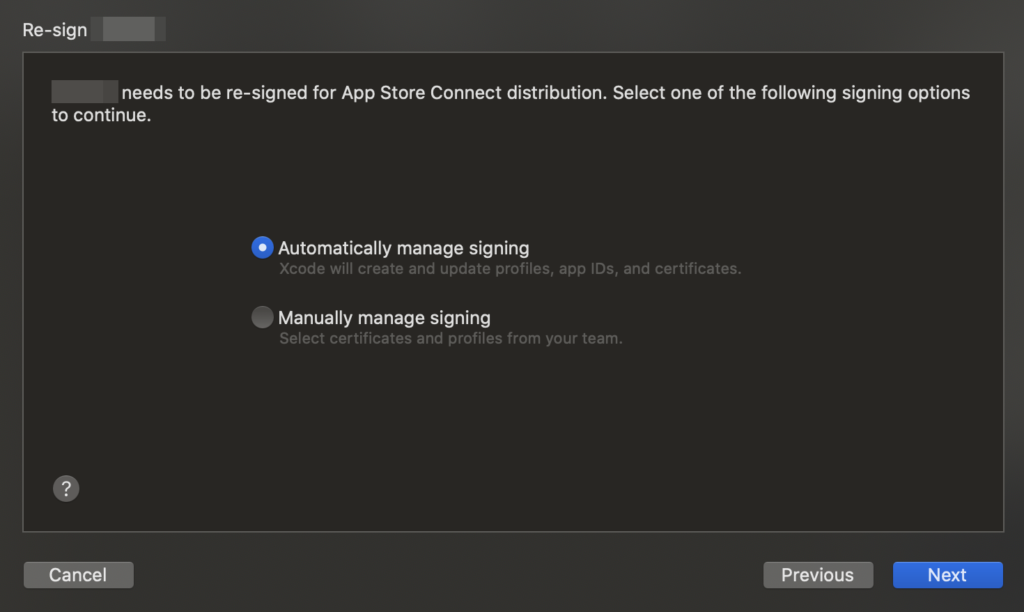
Auto で基本的に問題なし(なはず)。
なんとここでエラー例外ルートに…

記事 2/5 で簡単に説明しましたが、私は最初 Certificate を iOS App Distribution で作成していたため、証明書が使えなかったようです。
そのため「xcode で自動的に Apple Distribution の Certificate を作成しておいたので、証明書ファイルを保存しておいてね」というメッセージが出ています。
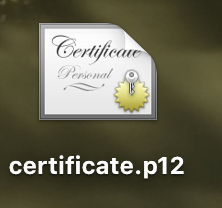
Export Signing Certificate ボタンを押し、証明書ファイルをローカルに保存しておきます。
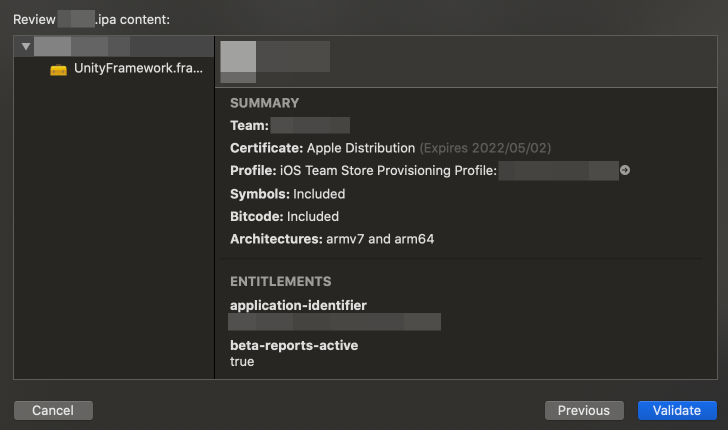
Validate ボタンを押す。しばらく待ちます
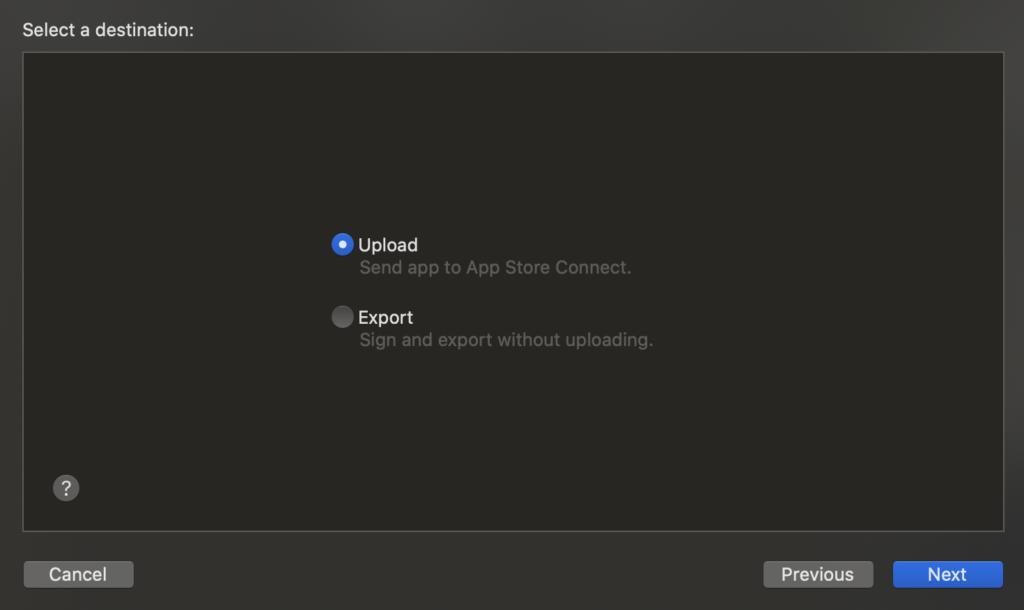
Distribute App
Validate App と大して変わりません。

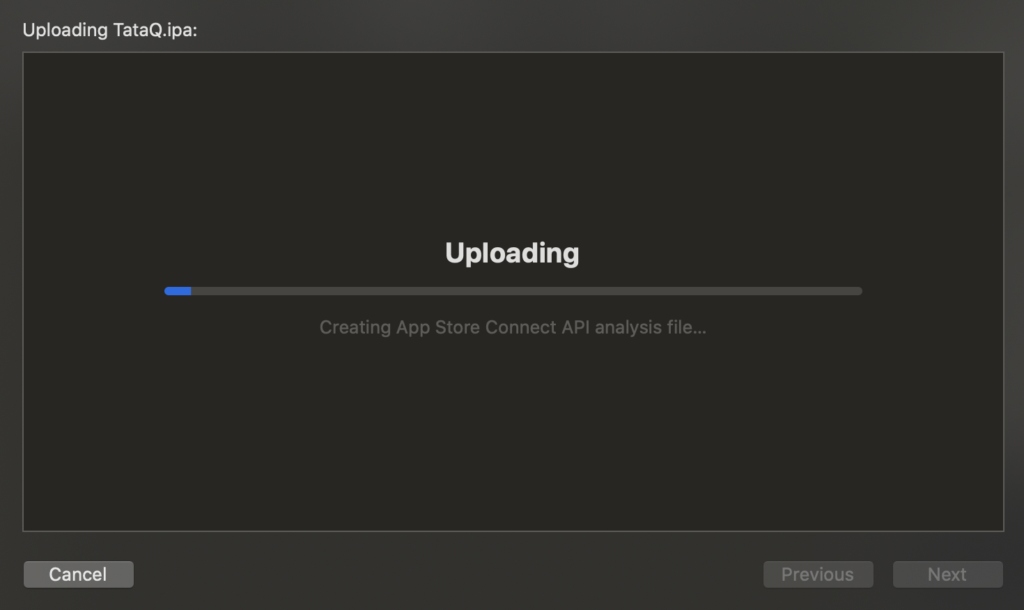
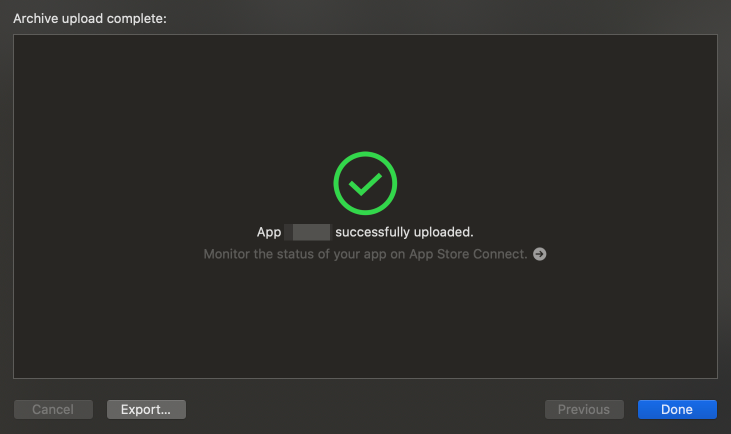
アップロード完了
無事に終わった…と思いきや、アップロード完了後、光の速さで App Store Connect より一通のメールが。
この時のエラー解決については別記事にて。
しばらく待つと App Store Connect より完了メールが届きます。
(私の場合、休日でしたが 20 分程でした)

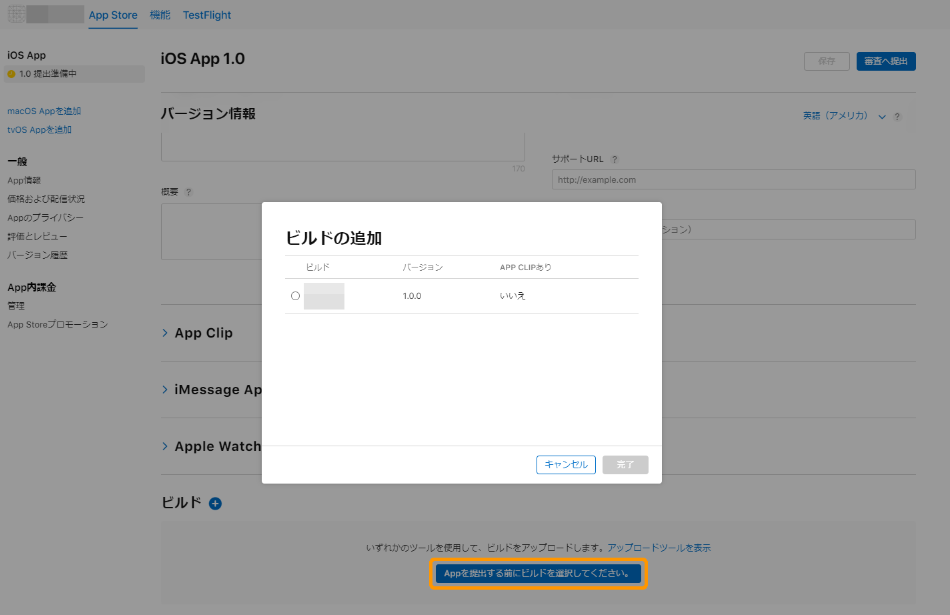
App Store でビルドを確認する
App Store Connect でビルドが選択できるようになっている事を確認します。
次の記事へ続きます。