新システムの移行が面倒…
unity2019 より登場した新 Input System、個人的にはパッドの対応が超絶楽になるなど、利点が多いので使った方が得!
ですが、正直慣れ親しんだもののほうが…と思っている人は多いのではないでしょうか?
そのような人が旧 Input のように新 Input System を使えるよう、最低限の設定とスクリプトを用意しました。
unity2019.4.17f1 で確認。
新システム固有の「アクション」は設定が面倒なので、まずは使わない方向でいきます。
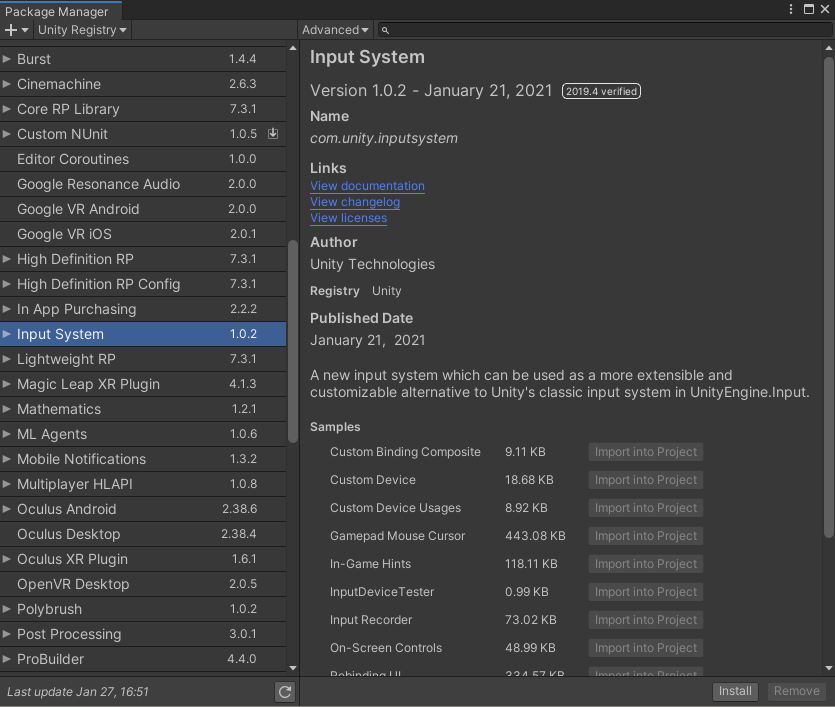
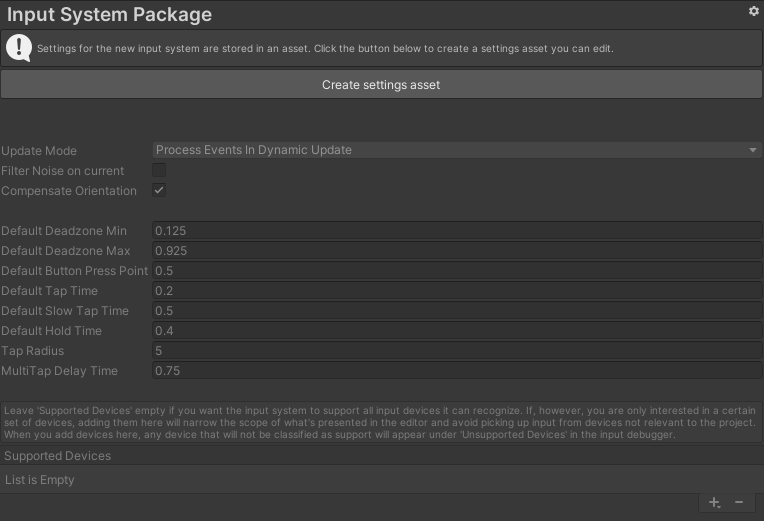
Package Managerでインストール
Samplesは全て不要。Input System のみインストール。

Input System を有効にする
インストール時に以下の警告が出た場合は Yes を選ぶと有効になり、Unity Editor が再起動します。
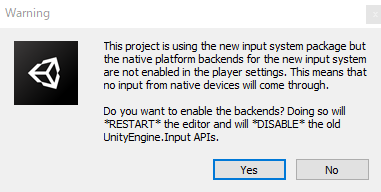
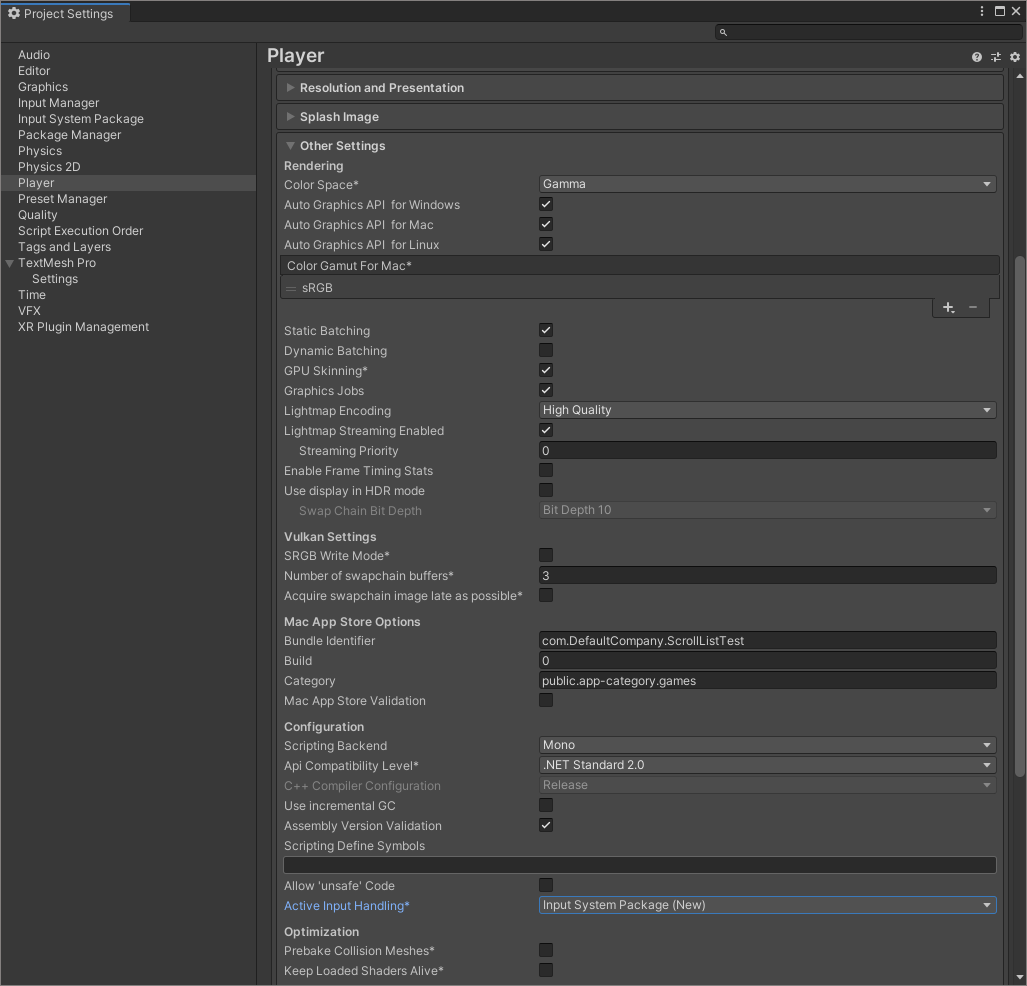
もし出なかった場合は Edit - Project Settings - Player - Other Settings の Active Input Handling* を Input System Package (New) にします。この場合も、Unity Editor が再起動されます。
Both を選択した場合旧 Input と新 Input System の両方を使うことができそうですが、混乱の元になるのでお勧めできません。
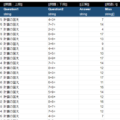
使用可能なコントローラを選択する
好みのコントローラを選択するだけで使えるように。旧 Input にはない、とても嬉しい機能。
使用可能なコントローラは(おそらく)随時更新されるでしょうし、この機能があるだけでも新 Input System を使う意味があると思います。
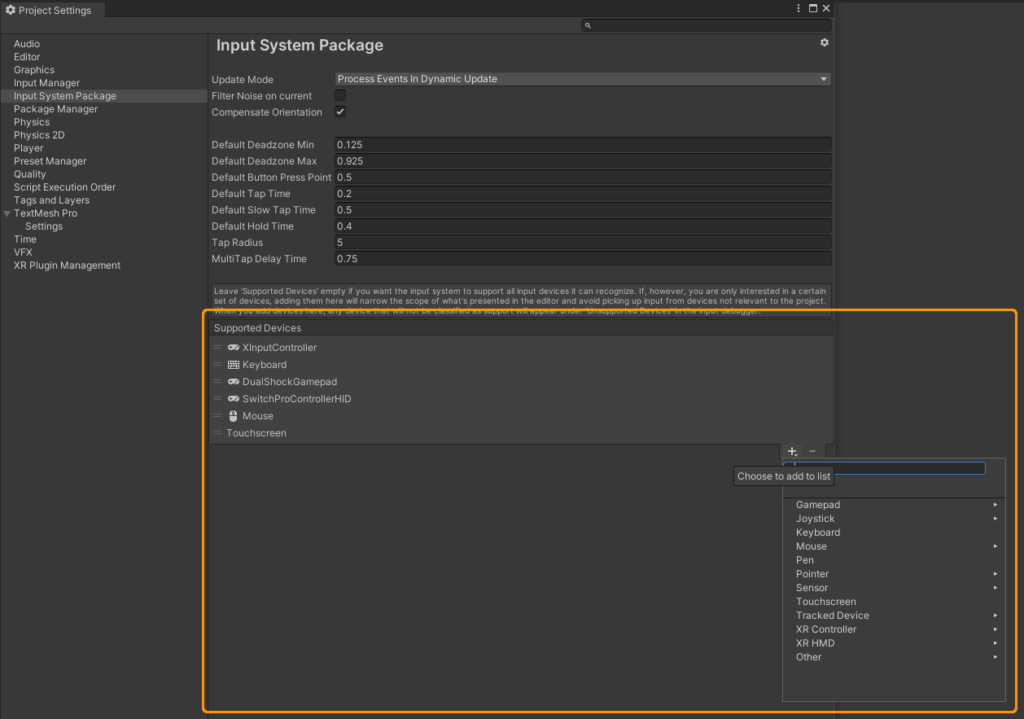
スマフォなら TouchScreen
パッドはXBox, PS4, Switch の3種類
アセットを制作していなかったり、Support Devices を何も設定していないと、キーボードやマウスは使えるようですが、パッドを1つでも登録すると、キーボード・マウスを明示的に登録しないと使えなくなります。微妙な罠に注意。
PS4 コントローラを USB 接続するとモニタの音が消えたけど、環境の問題?
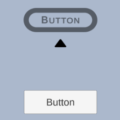
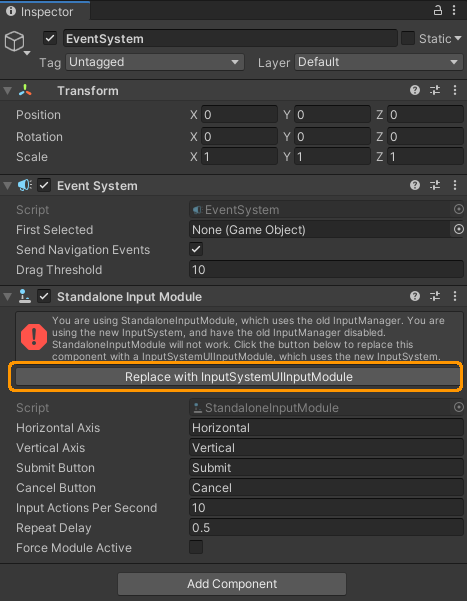
EventSystem を新 Input System に置き換える
旧Input を使っていた EventSystem は画像のように警告が出ています。ボタンを押して、新 Input System に移行します。
(移行しない場合、実行時エラーになります)
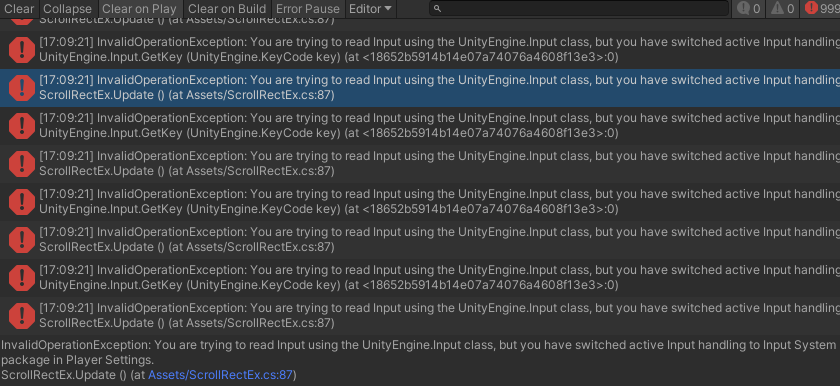
また、もし現在のプロジェクトに以前の Input が残っている場合、新 Input System への移行を促すエラーメッセージが表示されます。
コメントにするなり、一旦機能をカットしておきましょう。
拙作ですが、こちらで置き換えられそうであればお試しください。
入力値を取得するサンプルコード
以下のコードを適当な GameObject にアタッチしてください。
using UnityEngine;
using UnityEngine.InputSystem;

public class InputSystemTest : MonoBehaviour
{
    /// <summary>
    /// テスト確認用
    /// </summary>
    void Update()
    {
        // ゲームパッド
        var gamepad = Gamepad.current;

        Vector2 analog_l = gamepad.leftStick.ReadValue();
        Vector2 analog_r = gamepad.rightStick.ReadValue();
        float l2 = gamepad.leftTrigger.ReadValue();
        float r2 = gamepad.rightTrigger.ReadValue();

        // アナログ値
        if (analog_l.x != 0 || analog_l.y != 0)                Debug.Log($"Left stick: X/ {analog_l.x}, Y/ {analog_l.y}");
        if (analog_r.x != 0 || analog_r.y != 0)                Debug.Log($"Right stick: X/ {analog_r.x}, Y/ {analog_r.y}");
        if (l2 != 0 || r2 != 0)                                Debug.Log($"Trigger: L2/ {l2}, R2/ {r2}");

        // ボタンの値
        if (gamepad.buttonNorth.isPressed == true)             Debug.Log("PS4: △ Button");
        if (gamepad.buttonEast.isPressed == true)              Debug.Log("PS4: 〇 Button");
        if (gamepad.buttonWest.isPressed == true)              Debug.Log("PS4: □ Button");
        if (gamepad.buttonSouth.isPressed == true)             Debug.Log("PS4: × Button");
        if (gamepad.selectButton.isPressed == true)            Debug.Log("SELECT Button");
        if (gamepad.startButton.isPressed == true)             Debug.Log("START Button");
        if (gamepad.dpad.up.isPressed == true)                 Debug.Log("十字: Up");
        if (gamepad.dpad.right.isPressed == true)              Debug.Log("十字: Right");
        if (gamepad.dpad.left.isPressed == true)               Debug.Log("十字: Left");
        if (gamepad.dpad.down.isPressed == true)               Debug.Log("十字: Down");
        if (gamepad.leftShoulder.isPressed == true)            Debug.Log("L1 Button");
        if (gamepad.rightShoulder.isPressed == true)           Debug.Log("R1 Button");
        if (gamepad.leftTrigger.isPressed == true)             Debug.Log("L2 Button");
        if (gamepad.rightTrigger.isPressed == true)            Debug.Log("R2 Button");
        if (gamepad.leftStickButton.isPressed == true)         Debug.Log("L3 Button");
        if (gamepad.rightStickButton.isPressed == true)        Debug.Log("R3 Button");


        // キーボード(サンプルで4つ程)
        if (Keyboard.current[Key.A].isPressed == true)         Debug.Log("Keyboard: A");
        if (Keyboard.current[Key.Numpad0].isPressed == true)   Debug.Log("Keyboard: テンキー0");
        if (Keyboard.current[Key.Space].isPressed == true)     Debug.Log("Keyboard: Space");
        if (Keyboard.current[Key.LeftShift].isPressed == true) Debug.Log("Keyboard: Left Shift");
    }

    /// <summary>
    /// InputSystemTest.GetKey(Key.A) のように使う
    /// </summary>
    public static bool GetKey(Key key)
    {
        return Keyboard.current[key].isPressed;
    }

    /// <summary>
    /// InputSystemTest.GetKeyDown(Key.A) のように使う
    /// </summary>
    public static bool GetKeyDown(Key key)
    {
        return Keyboard.current[key].wasPressedThisFrame;
    }
}
isPressed が常時ボタンの押されている状態、wasPressedThisFrame がボタンの押された瞬間、wasReleasedThisFrame がボタンの離された瞬間です。
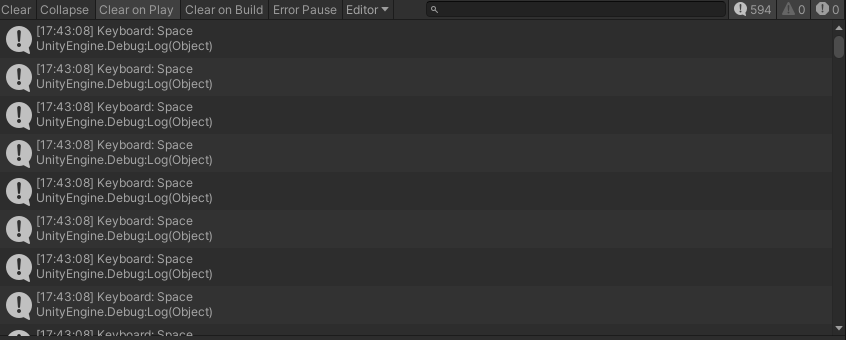
試しにキーボードのスペースを押すと、ログが表示されると思います。
(確認できたら、Update() は不要なので消しても構いません)
また、以下のようにコールすることで、旧 Input と同じようなラッパーメソッドを使うことができます。
(クラス名は自分の好きなように変更してください)
InputSystemTest.GetKey(UnityEngine.InputSystem.Keys.A)
InputSystemTest.GetKeyDown(UnityEngine.InputSystem.Keys.A)
KeyCode ではなく、UnityEngine.InputSystem.Key であることに注意。
UnityEngine.InputSystem を using しておくと引数の長たらしい名称が不要になります。
using UnityEngine.InputSystem;

InputSystemTest.GetKey(Keys.A);
InputSystemTest.GetKeyDown(Keys.A);
Input.GetAxis() とかは新しいやり方の方がわかりやすそうなので、ラップは不要かな…。
説明しなかった「アクション」
アクションは「キーボードとパッドを、(例えば)パッドに見立てて使えるようにする」という素敵な機能ですが、使いこなすまでの道のりが遠いのが難点ですね…。
次の記事に、アクションは使わず、「キーボードとパッドを、パッドに見立てて使えるようにする」簡単なクラスを用意したので、よければそちらもご参考になさってください。